Showing posts with label cards. Show all posts

Monday, June 13, 2011

A Trio of Fast Winter Cards from the Bits and Pieces Drawer

Here is a three pack of winter and Christmas theme cards that I whipped out in my recent cardmaking session.  These were some of the fastest cards.  They will serve the purpose of a personalized, non-commercially mass produced card though.

This first card has a very large sticker of Santa holding a Christmas tree.  Then I wrote in overly elongated style "merry christmas" using a green Sakura gelly roll pen.


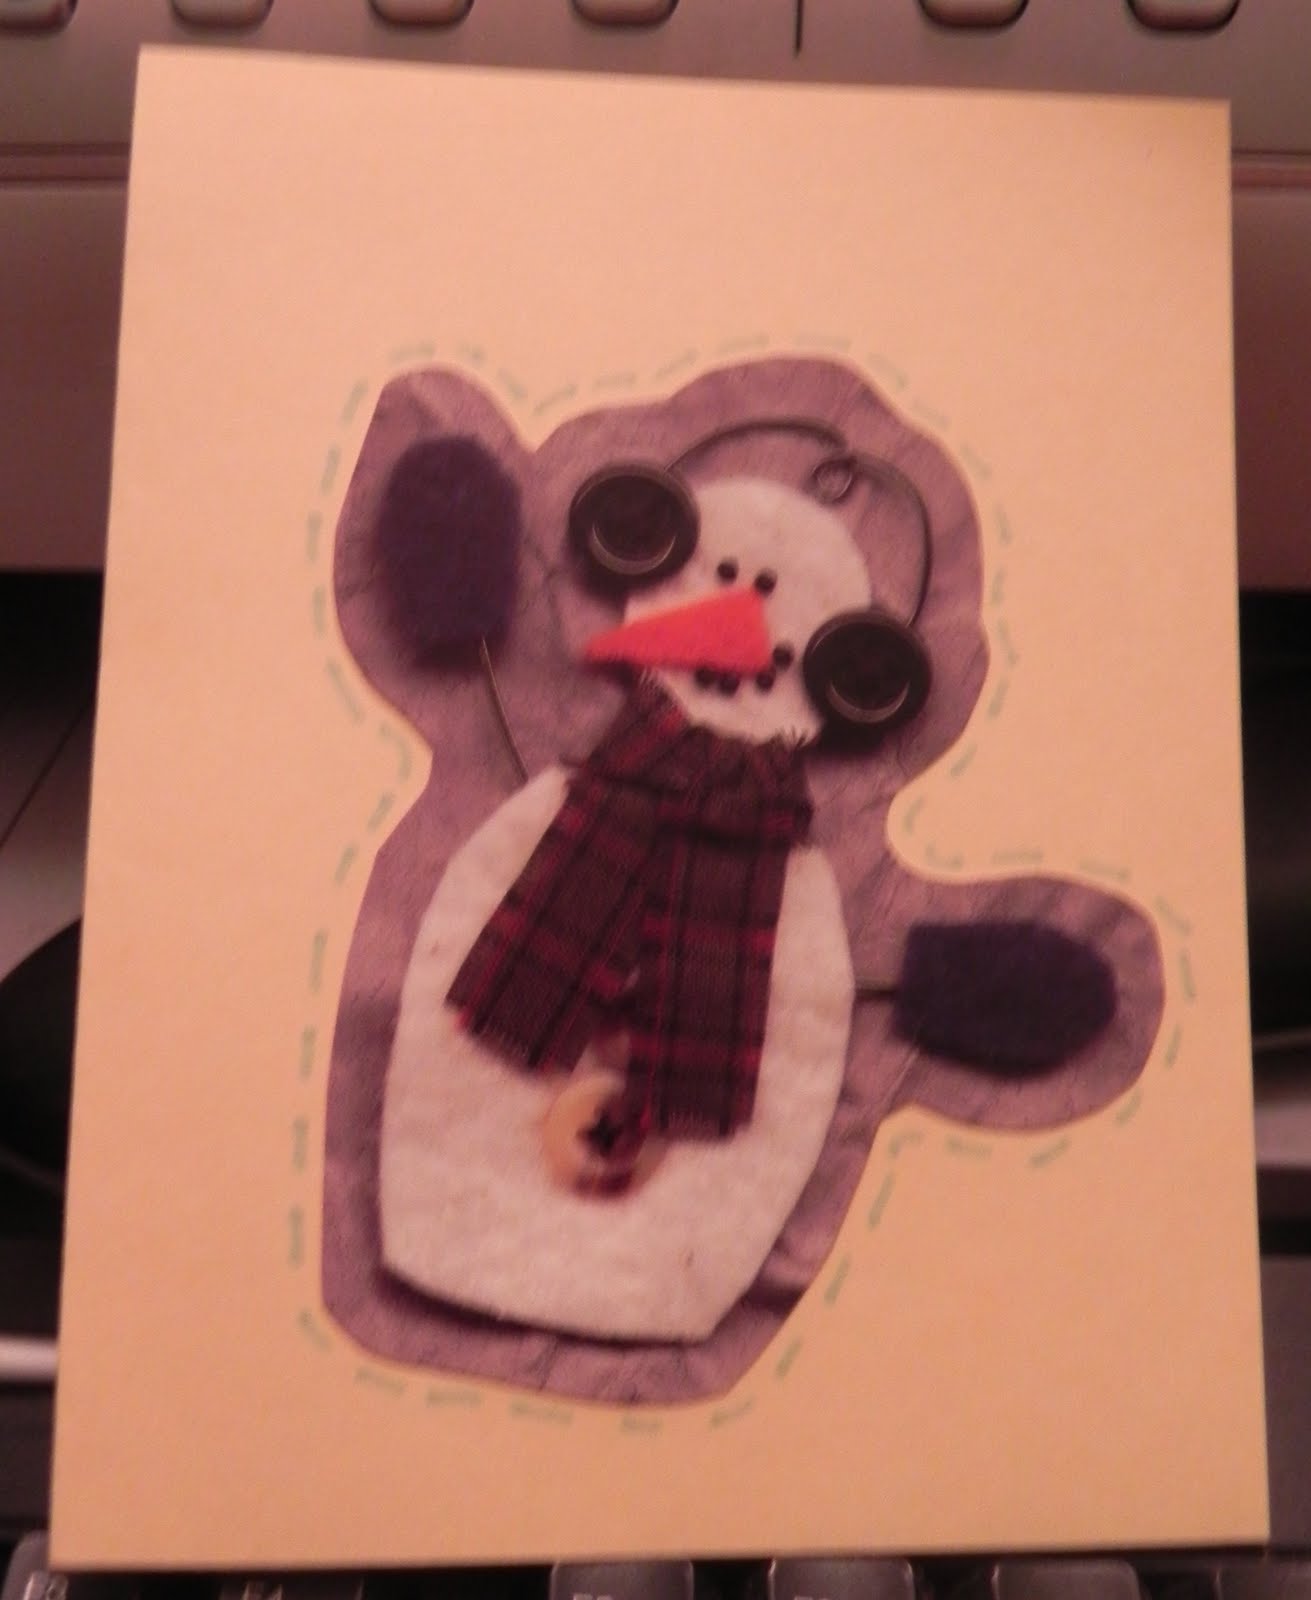
These next two cards are even quicker and simpler than the last one.  Years ago in a LSS's scrapbooking indoor yard sale, I got overly excited by a card with the two following images on it.  They were not stickers though and for years I have passed them by because it would be difficult to fussy cut them.  I decided to just use them up, so I cut them with an obvious border.  Glued them down and added a little frosty blue pen stitching around them.

So I can feel good about making use of these bits and pieces and I have three cards to send to someone when the weather gets frosty.


Saturday, June 11, 2011

Another Card from the Bits and Pieces Drawer

Here is the next card that I made in my recent cardmaking session.  Doing cardmaking in sessions means that I have cards ready to go whenever I feel like writing one.  I try to keep in touch with faraway family and friends with my handmade cards.  I like that they can keep them and each time that they look at it, it is like getting a new visit.


 This gorgeous tulips in a circle image was a rubber stamp image.  I rubber stamp in batches to and them throw all the stamped images into a drawer, to have them ready to use whenever I get an urge.  I don't know what company made this image, as I unmounted all my wood-mounted rubber stamps a few years ago, to save space.  

The card background is a pale cream colored cardstock.  The stamped tulip image I colored with Copic markers.  I am starting to get a small collection of Copics, which is making shading and highlighting easier.  The tulips are orange, with shading around the edges and a reddish orange at the base.  The leaves are done in shades of green.  The background of the circle is pale lavender and the circle border is two shades of purple.  I stamped the image on white cardstock and then inked it with dusty rose shade of ink; just doing a direct ink to paper technique.

Thursday, May 26, 2011

Today's Card From the Bits & Pieces Drawer

Here is the next card I made in my card making session recently - I like that these are made from little bits and pieces that I have saved. 


This is another rubber stamped image; long ago; I stamped 1 image from each of my rubber stamps.  This was from that time.  The card itself is made from light colored cardstock.  I stamped the image with a gray ink so that I could see the outline but it would basically disappear after I colored it in.  

This was colored with a combination of Copic markers and Whispers Strokes markers.  Then I tore the edges around image, pulling towards me so the rough edge of the tear was on top, and inked it with Cement Antiquities  Ink Pad from  Ranger Ink.  I really like the effect that it gives.

Then I a Zig 2 Way Glue to glue the finished image to the cardstock.  I love the look of this card it reminds my of a spring afternoon in the French countryside; very friendly and cheerful.

Monday, May 23, 2011

Another Card From My Bits & Pieces Drawer

The other night I got on a slight crafty binge and did a bunch of cardmaking.  I like using up the little bits and pieces of stuff that are too good to throw out, but your not sure what to do with them.  I like to make cards with them.

Here is the next one:


This card was made from light cardstock.  The image is rubber stamp, that I colored in with copic markers, then the background and the torn edge was inked with a pink ink pad.

This is a nice feminine all purpose card; that can be used for a just because note or any other reason.  Having these cards all made up ahead of time, makes it easy to dash off a card when I hear some one is sick or to congratulate them for an achievement, or even just to catch up and stay in touch.

I feel like a card that someone can touch is very special especially in today's electronic age.  A card can be saved and whenever you look at it again, it is like another little special visit from a dear friend or family member.

Sunday, May 22, 2011

Another Card from my Bits & Pieces Drawer

In an effort to make something from all my saved bits and pieces I have been making cards.  Here is another card that I made the other night:


This card started with pale cardstock and a vellum quote tag that I colored from the reverse with copic markers; I used YR68 orange; and V09 violet; the violet I used on both sides to make it very bold and pop.  The background was a Zig Watercolor System ColorBrush Twin in pale blue.  Then I edged it from behind with Whispers Strokes marker in a dark blue.  After I glued the vellum down with Zig 2 way glue.  I doodled the decorative scalloped dotted border with a Pilot G2 pen.

Thursday, May 19, 2011

Card Making Party

Spent a few hours last night making greeting cards.  These are ones that I make from my bits & pieces drawer. I do these cards in batches.  Yesterday morning I grabbed a small pile of light colored cardstock and turned it sideways and used the sliding trimmer to cut each sheet of 8.5 x 11 inch cardstock.  So each piece of cardstock yields two cards 8.5 x 5.5 inches.  I then use a bone folder to fold each card in half and make a sharp crease.


This card is made with an off-white beigish cardstock.  The quote is a leftover vellum sticker I found in the drawer as where the footprint stickers.  I edged bought the vellum quote sticker and the entire card with Zig Watercolor System Color Brush Twin.  It is the palest blue on the cap; but there is no color name on it.


This card is on light colored cardstock.  The corners and the main image of "Snow" were part of a card with images, but not stickers; that I got at a scrapbook yard sale at the scrapbook store back in Ohio.  Besides fussy cutting the shapes, I didn't do anything but glue the pieces down to this one.


This card is made on light colored cardstock.  The large sun is a Sizzix die cut (Large Sun 38-0184).  The edge of the die cut and the inner circle of perforations have been highlighted with markers and chalkwork.  There is a faint smiley face in the sun.  The word "sunshine" is a sticker.  The "you are my" is done with a copic marker as is the edging on the entire card; I used Copic Ciao YR68 Orange.


This card is from another card (not sticker) that I got from that scrapbook yard sale.  I fussy cut it, then glued it down.  Then I did some pen stitching with a Staedtler Mars graphic 3000 duo marker #71, a brown; but with no color name on it.

These are the first four cards; I made about 25-26 cards last night and will share more.

I like to have these ready, they are blank inside and I can add whatever message I want when it comes time to use them.  I like that I use up all the little bits and pieces of this and that; that I save. 


Sunday, February 6, 2011

Last Night's Cards


Here are the pics of the two cards I made last night.

For the top card both greens are Staedtler Mars Graphic 3000 duo markers.  The little berries in the middle are done with Whispers Strokes markers and highlighted with Inc Elementz Metallic Markers.

For the lower card the pink flowers are done with Zig ColorBrush Twin markers and the green stems and the highlights in the center of the flowers are Whispers Strokes markers.

Friday, February 4, 2011

Thursday Night's Card - So Deer

Here is the card I did last night.  Got the inspiration from Lawn Fawn.


I used some Whispers Strokes markers for the body; for the eyes and ears I used a Zig ColorBrush Twin, they are so delicate and just wash the color on.  The tail and the white highlight dots are done with my handy dandy white Sakura gelly roll pen.

Wednesday, February 2, 2011

Another Card

I made this card a few nights ago; it is inspired by something that Julie Ann Bailey posted on Facebook.

Last Night's Card

Here is a drawn card I did last night.


It didn't show well in the photograph, but the ink is a pretty silvery ink from Sakura.

Two Card Night

While catching up with the blogs I follow, I saw two cards on the Zany Not Crazy Blog  that inspired me to make these two cards. 


My cards are just drawn with markers very freehand and fast.  But I am sure my friends would like to receive one of these cards.  And while I love love love my rubber stamps (I have 100s) sometimes it is cool to just hand make something.

Saturday, November 20, 2010

A Chill is in the Air

Well it is the week before Thanksgiving and it is getting cold here.  The leaves are almost all blown off the trees; and the days are hazy and sunless.  And all I got to say about that is 'Blah'.

Been crocheting, I have finished five hats for Christmas gifts and am working on a matching scarf for one of them.  Can't load up pics of them now, or wandering eyes might see them ... shh.

Been making Christmas cards for deployed military people; for a project with the DAV Auxiliary.

Friday, April 23, 2010

Making the Basic Card

I thought maybe you would like to know how to make the basic blank card to embellish.  It took me a little bit to figure it out.

Take a piece of 8-1/2 x 11 inch cardstock and turn it sideways so that it is wider than tall.  You want to cut this in half so that you no have two pieces of cardstock each 8-1/2" x 5-1/2".

Fold them in half, using a bone folder, if you have one or if not creasing the fold crisply with your fingernail.

You now have a basic card blank that is 4-1/4" x 5-1/2".

These card blanks will fit in Invitation Envelopes which are available at Wal-Mart or at office supply stores.  Invitation Envelopes are 4-3/4" x 6-1/2" in size.

Today's Scanned Cards

Scanned these cards today. 

This first one is an elegent wallpaper fussy cut.  It is highly texturized.


The second one has a star border cut from a wallpaper sample.  The moon is a Sizzix die cut called Crescent Moon (38-0275) and I die cut it out of a textured wallpaper sample.


This third card is a Sizzix die cut called Gingerbread Man (38-0932).  The smile did not show on this so I simply took a small pair of curved scissors and snipped his smile bigger so that it showed up well.  This was die cut from a wallpaper sample.


This fourth card was cut from two pieces of wallpaper samples in the same pattern but different colors.  It was die cut from Sizzix die Balloons #2 (38-0146). 

Wednesday, April 21, 2010

Cards Again

Four more, been on a scanfest today, lol.  Cards 2-4 are fussy cut wallpaper samples.

Card 1 is Sizzix die cuts: Dove and Heart (2 separate dies)

Four cards

Four more scanned cards.

This card is on a background of pink cardstock.  The architectural detail on the bottom was trimmed from a wallpaper sample.  As was the word, Innocence.  The stylized sun is a Sizzix die cut (38-0707) I cut it from wallpaper.


These are die cuts from Sizzix Flower #1 (38-0224); I die cut them from paint chips in various shades of purple.


The last two cards are made from fussy cut wallpaper samples.

Two More Cards

Here are two more.

These are two of my favorite cards.

More Drawn Cards

Here are some more cards I drew.

Drawn Cards

These are cards that I drew.

Savannah's Second Birthday Card

I made this card for my precious granddaughter, Savannah, for her second birthday.


The background is a pink cardstock, that I edged with a pale purple scrapbook marker.
The 2 is a chipboard cut out that I colored with scrapbook markers; then dotted with a white paint pen.  Then I covered with the entire 2 with some glossy goo (sorry can't remember the name but I think they are from Ranger Ink); I hit the glossy goo with a heat gun and that made it bubble up slight to add texture.
The pastel heart paper was from a book of kids scrapbook papers, maybe from Paulette Jarvey's company (hope I didn't kill her name, I remember seeing her on scrapbook shows).  I tore the paper and lightly inked the edges before I glued it down.
The sun was fussy cut from a paper of scrapbook elements, I think from the same book as the pastel heart paper.  I used the glossy goo on it and added some glitter to it while it was still wet.
The teddy bear was a button, that I snapped the back shank off of and attached with a glue dot.

Add to Technorati Favorites

Add to Technorati Favorites

Swidget 1.0